Biblical Archaeology: discoveries alongside the story
From the first digs of the 1800s to this year's finds, the Archaeology catalogue sets each discovery beside the biblical story. Each card tells you what was found, who found it and when, why it matters, the Hebrew word it connects to, and the verses it touches. Each find is also marked honestly as accepted, debated or disputed.
Open Biblical Archaeology in a new tab →
Step 1: Open Biblical Archaeology
Tap Tools ▾ → Biblical Archaeology. The eras run along the top, with the number of finds in each.
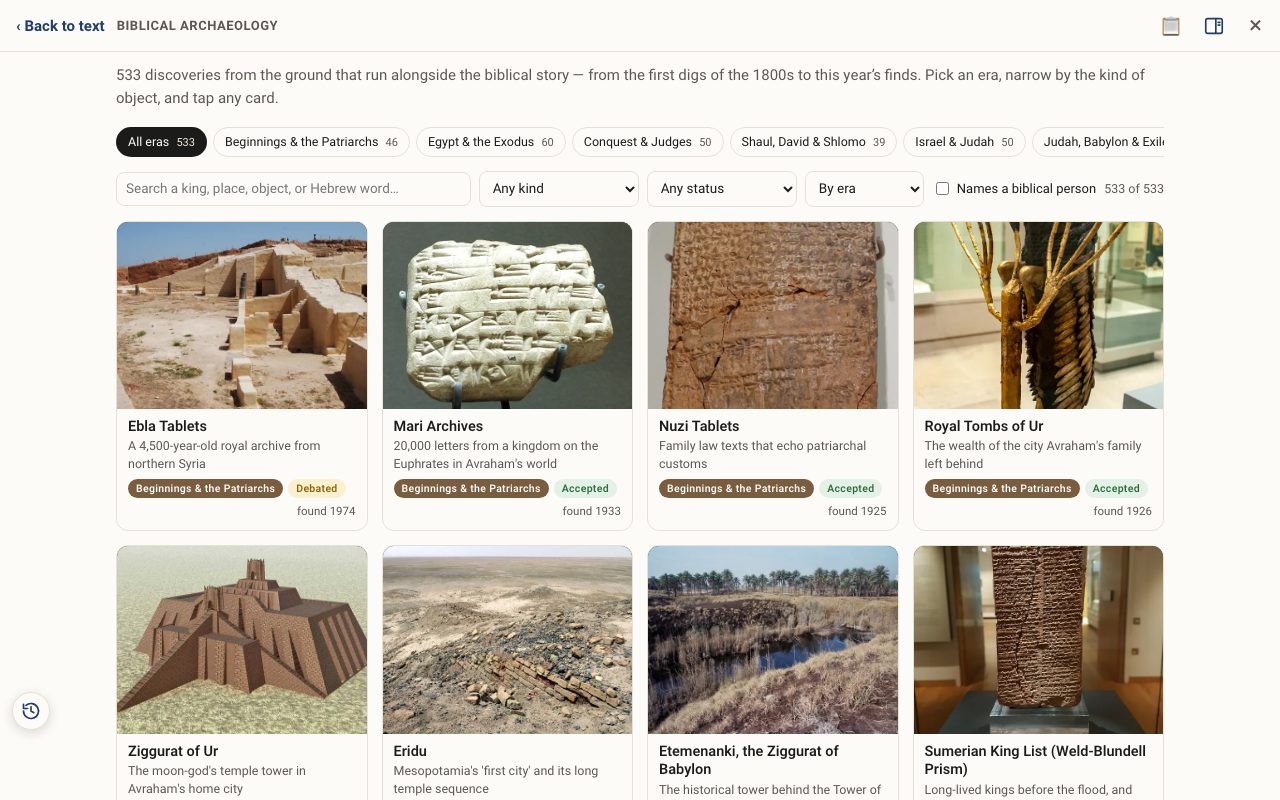
Step 2: Narrow it down
Tap an era, or use the filters. Search a king, place, object or Hebrew word; choose a kind (stele, inscription, seal/bulla, ostracon, coin…); filter by status (accepted, debated, disputed…); and sort by era, newest finds, earliest finds or A–Z.
Step 3: Open a discovery
Tap a card for the full story: what it is, when and how it was found, who found it, its significance, the Hebrew word with pronunciation, a photo where a free one exists, and the verses it touches.
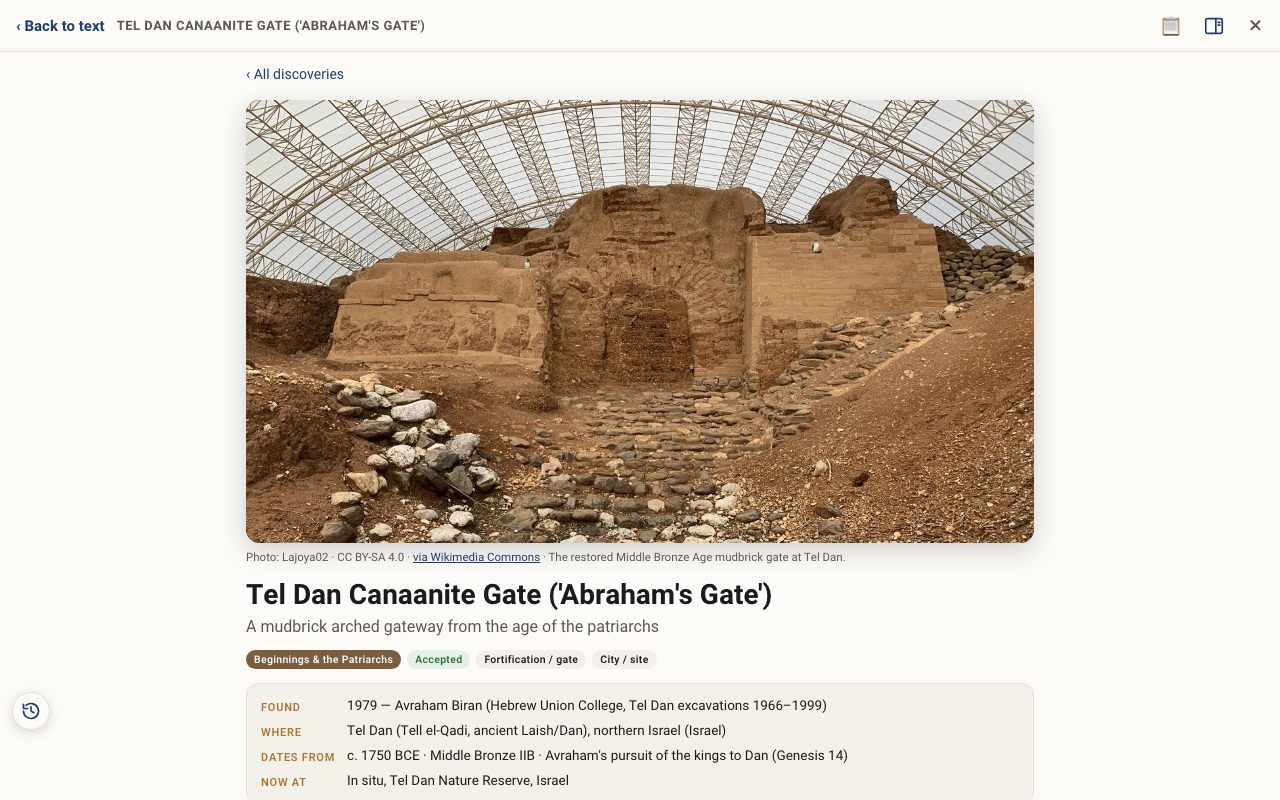
Step 4: Meet it while reading
When you read a chapter that a discovery touches, it appears in the Study Panel's Resources tab.
Related tutorials
- Places & Geography: every place on the mapEvery place glows green. Tap one to see it on the map, with its meaning and what happened there.Free 4 min · Beginner
- The Study Panel: your study space beside the textResources for the chapter, your notes and highlights, saved studies, a parallel translation, books and search, all beside the text.Free 6 min · Beginner
- Tale of Two Kingdoms: Israel and Judah side by sideThe whole story from Samuel to the dispersion on one timeline, with every king, prophet and battle, and narrated chapters.Pro 5 min · Intermediate